
Specialist Advice for Builders and DIY Deck Installers
Timber Deck Maintenance Sunshine Coast: The Complete Guide
A timber deck is one of the most rewarding features you can add to an outdoor space, but keeping it in great condition on the Sunshine Coast takes real commitment. The region’s intense UV exposure, high humidity, coastal salt air, and heavy seasonal rainfall create one of the most demanding environments for timber in Australia.
Whether you’ve just built a new timber deck or you’re trying to get more years out of an existing one, this guide covers everything you need to know to maintain it properly and what to consider if the upkeep starts to outweigh the rewards.
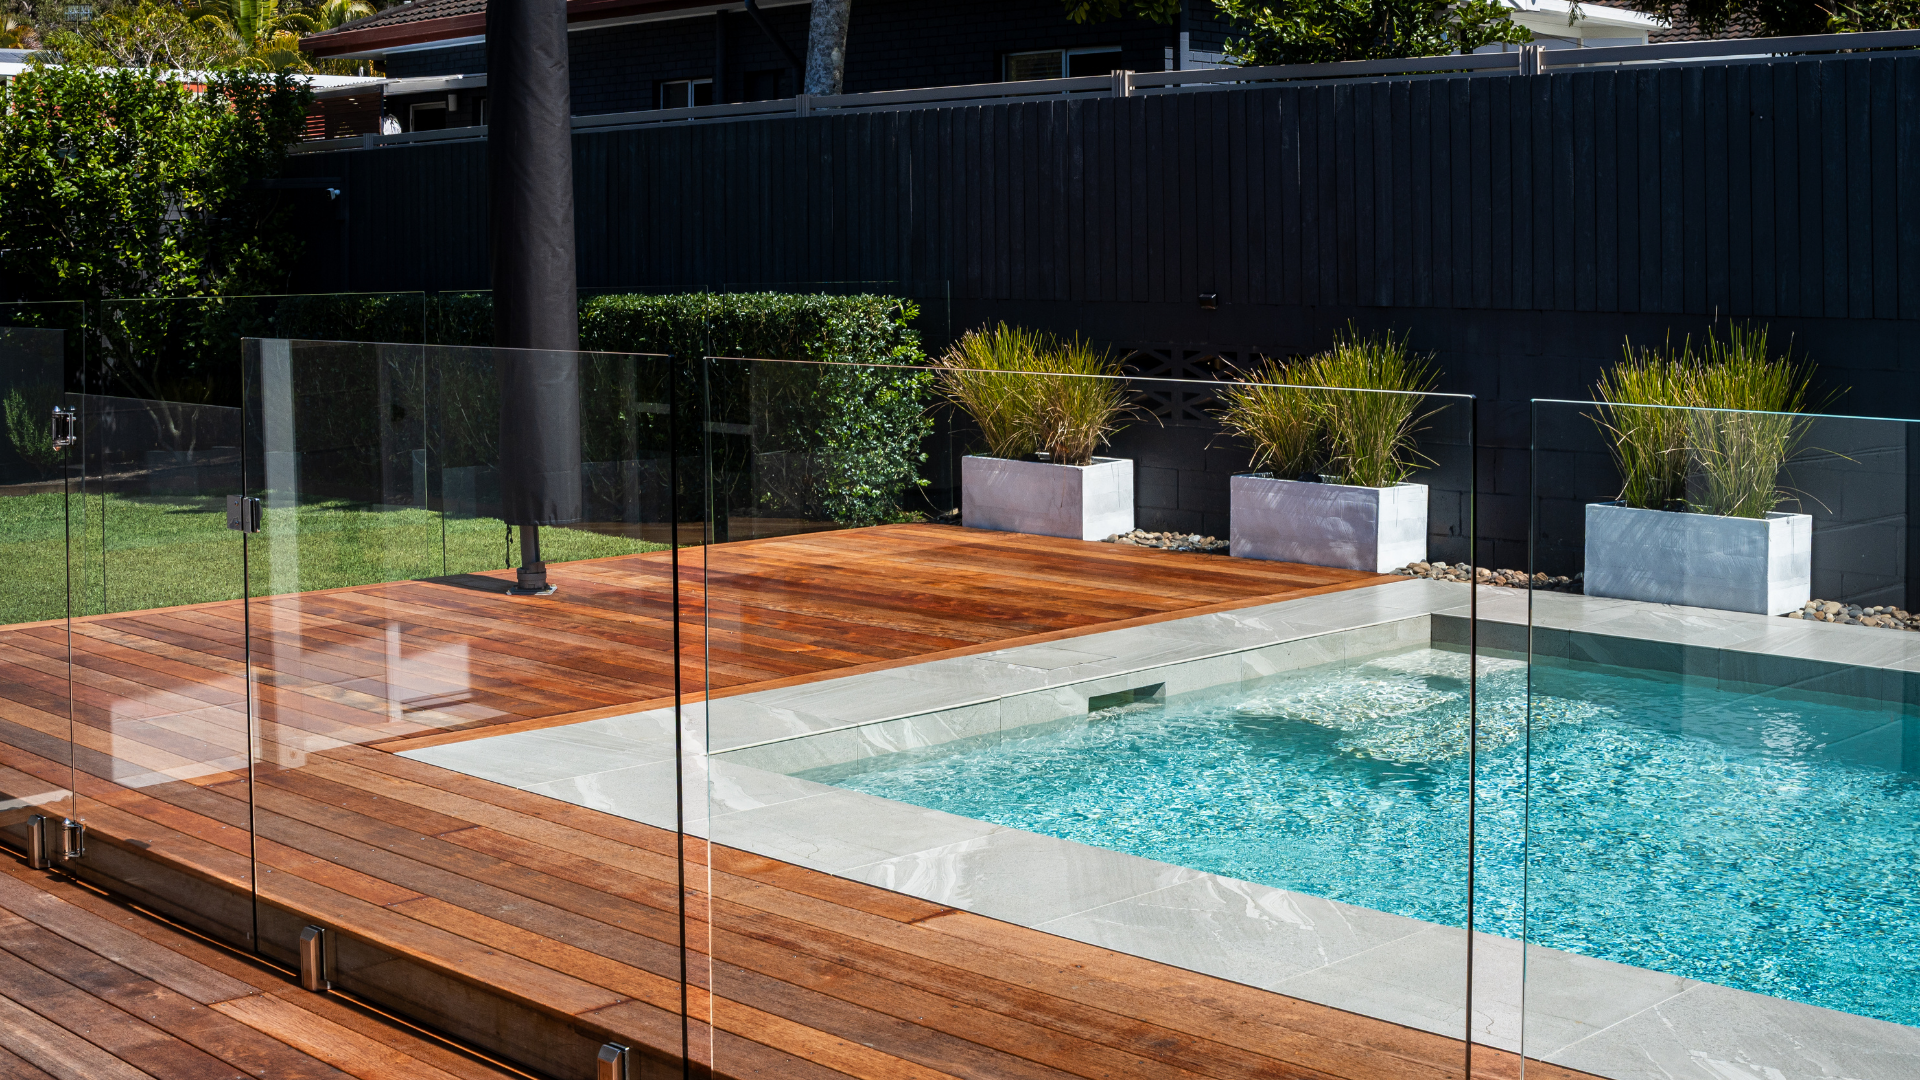
Why Timber Maintenance Matters More on the Sunshine Coast
Timber is a natural material, and without regular care it will deteriorate, especially in a coastal climate. Sunshine Coast homeowners deal with a specific combination of conditions that accelerates timber wear faster than most parts of Australia:
UV radiation fades and dries out timber, causing cracking and surface breakdown
Humidity and moisture leads to swelling, warping, and rot if left untreated
Salt air in coastal areas accelerates corrosion of fixings and degrades timber fibres
Mould and algae thrive in warm, humid conditions and can make decks slippery and unsightly
Neglecting a timber deck doesn’t just affect its appearance, it becomes a safety hazard and can lead to costly structural repairs down the track.
How Often Should You Maintain a Timber Deck?
The honest answer is: more often than most homeowners realise. At a minimum, you should be sweeping and clearing debris monthly, washing the deck down with a cleaner every three to six months, and inspecting for damage and loose fixings every year. Re-oiling or re-staining should be done yearly, with sanding only needed if the oil or stain has been neglected and started peeling. A full structural inspection of joists, bearers, and posts should be done every two to three years.
On the Sunshine Coast, the combination of summer storms, humidity, and UV means you should stay on top of these intervals, particularly the annual oiling and re-staining cycle, rather than letting it slide.
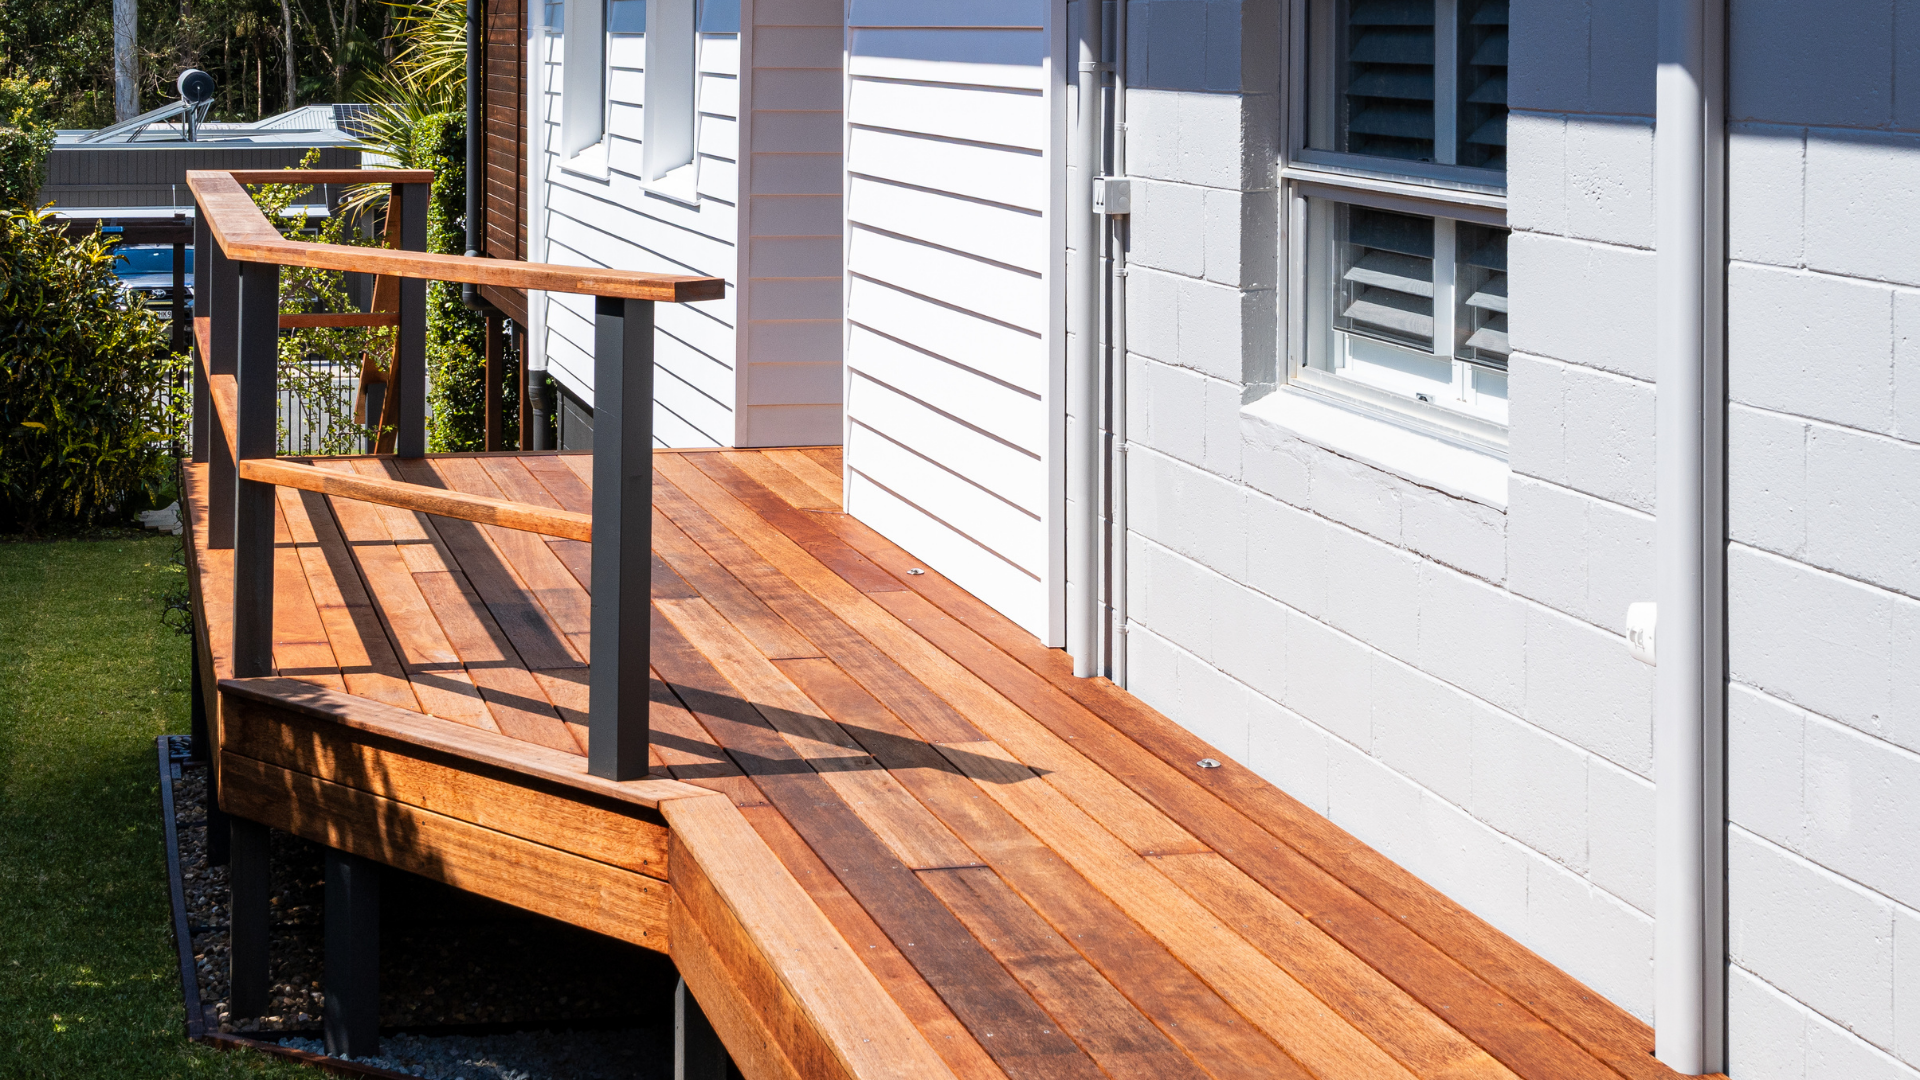
Step-by-Step: How to Maintain a Timber Deck
Step 1 — Clear and Clean
Start by removing all furniture, pot plants, and anything sitting on the deck surface. Debris trapped under pots or furniture holds moisture against the timber and accelerates rot.
Sweep the deck thoroughly, paying attention to the gaps between boards where leaves and grit collect. A stiff brush or blower works well here.
Mix a timber deck cleaner with water (follow the product instructions) and scrub the surface with a stiff deck brush. Work in the direction of the timber grain to avoid scratching. Rinse off thoroughly with a hose.
Tip: Avoid high-pressure washers on timber decks. They can raise the grain, force moisture into the boards, and strip protective coatings prematurely.
Step 2 — Inspect for Damage
Once the deck is clean and dry, do a thorough inspection before applying any treatment.
Look for:
Cracked or split boards — surface cracks can be sanded back, but deep splits may require board replacement
Soft or spongy spots — a sign of rot that needs to be cut out and replaced immediately
Raised grain or splintering — common after UV exposure or water damage, addressed with sanding
Loose or popped fixings — replace any corroded screws or nails with stainless steel fasteners rated for outdoor use
Structural movement — check joists, bearers, and posts for signs of movement, decay, or pest damage
Address any structural issues before proceeding with surface treatment. Oiling over a rotting board won’t fix the underlying problem.
Step 3 — Sand the Surface
Sanding removes the weathered grey layer from the timber surface, opens the grain to accept new treatment, and smooths out any raised fibres or splinters.
For most decks, a 60–80 grit sandpaper on a belt or orbital sander is the right starting point, followed by 100–120 grit for a smooth finish. Always sand in the direction of the grain. For large decks, a drum sander or hired deck sander will save considerable time and effort.
Remove all dust thoroughly before proceeding. Dust will prevent oil or stain from penetrating evenly.
When replacing damaged boards, clean cuts make a significant difference to the finished result. My Deck’s 165mm Plunge Saw Blade is well suited to accurate board cuts during replacement work.
Step 4 — Apply Oil, Stain, or Sealant
This is the most important protective step. The right product depends on your timber species and the finish you’re after.
Decking Oil Penetrates deep into the timber to nourish and protect from the inside out. Best for hardwoods like Merbau, Spotted Gum, and Ironbark. In the Sunshine Coast climate, plan to reapply every 12 months.
Decking Stain Sits on the surface and provides colour while offering UV and moisture protection. A good option for softer timbers and homeowners wanting a consistent colour. Reapply every 12–18 months.
Sealant / Clear Coat Provides a hard protective layer that’s easier to maintain in the short term, but prone to peeling over time which means more preparation work at the next maintenance cycle.
Apply in the morning or on a cool, overcast day. Avoid direct sun or conditions where rain is forecast within 24 hours. Work the product into the grain with a brush or roller, following the manufacturer’s recommended coverage rates. Most decks will need two coats; allow the first coat to dry fully before applying the second.
Step 5 — Replace Damaged Boards
If your inspection found boards too far gone to sand and treat, they’ll need replacing. Make sure replacement boards match your existing timber species and profile to maintain a consistent look.
When fixing replacement boards, use 316-grade stainless steel screws. Standard mild steel screws corrode quickly in coastal environments and can stain the timber around them. My Deck’s 316 Stainless Steel Decking Screws are designed specifically for outdoor decking applications on the Sunshine Coast.
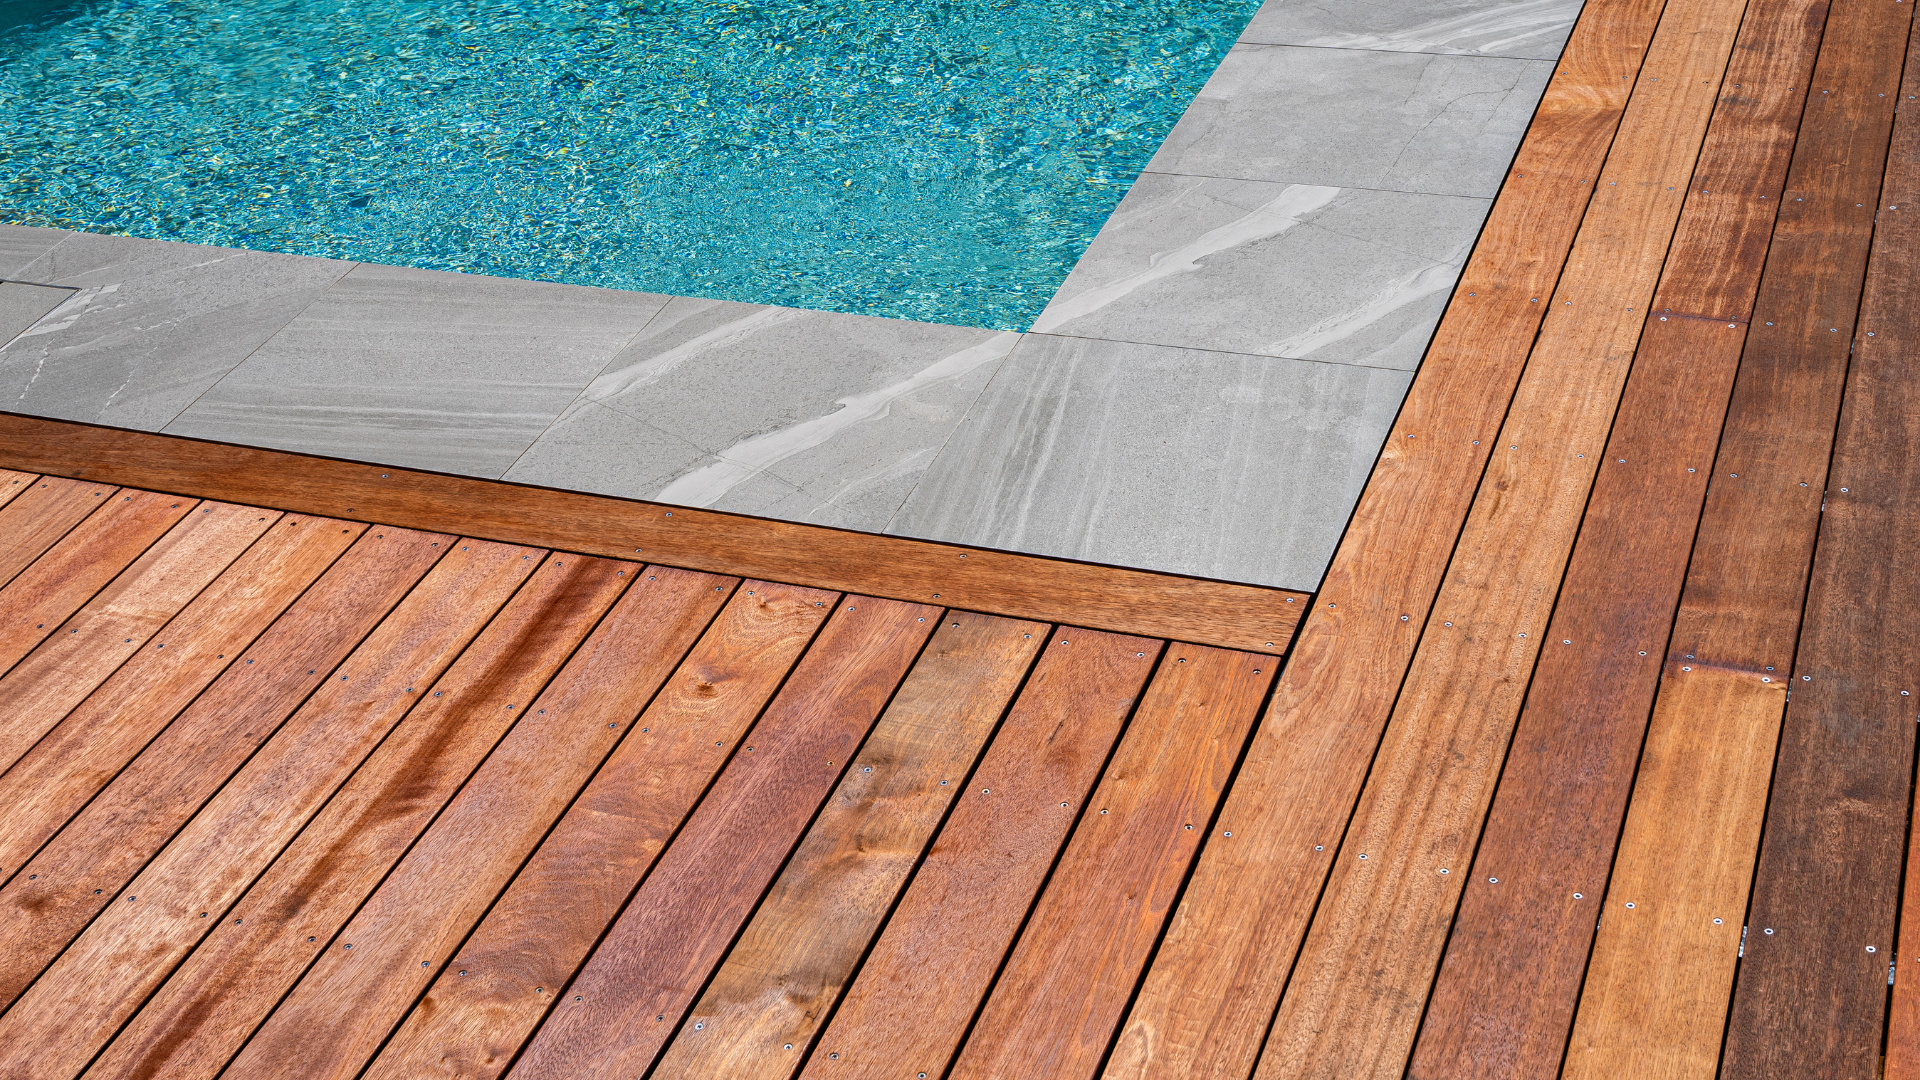
Common Timber Deck Problems on the Sunshine Coast
Greying and bleaching Timber turns grey when UV radiation breaks down the lignin on the surface. It’s cosmetic rather than structural, but it’s a clear sign the deck needs attention. Regular oiling prevents this from occurring.
Mould and mildew Common in shaded areas or decks with poor drainage. Use a dedicated mould treatment before oiling, and trim back any vegetation keeping the deck damp.
Cupping and warping Boards that cup (curl at the edges) or bow are absorbing and releasing moisture unevenly. Usually a sign of inadequate oiling, poor ventilation under the deck, or boards that weren’t properly dried before installation. Minor cupping can sometimes be reversed with sanding and correct oiling; severe cupping generally means board replacement.
Rust staining Orange stains around fixings are caused by corroding screws or nails. Replace with stainless steel fixings and treat the stained timber with a brightener before re-oiling.
How Much Does Timber Deck Maintenance Cost?
For a standard 30–40m² timber deck on the Sunshine Coast, annual maintenance costs can range from $300–$600 for a confident DIYer, or $1,100–$2,100 if you’re using a trade professional. This includes cleaning, sanding, and two coats of oil or stain.
Board replacements are an additional cost on top of this, and these figures repeat every 12–18 months for the life of the deck, which adds up significantly over time.
Thinking About a New Deck or Replacement?
If you’re planning a new deck or assessing the cost of replacing an existing one, use the My Deck Deck Planner to calculate how many boards you’ll need based on your dimensions. It takes the guesswork out of material quantities and helps you plan your project with confidence.
On the Sunshine Coast, the combination of summer storms, humidity, and UV means you should stay on top of these intervals, particularly the annual oiling and re-staining cycle, rather than letting it slide.
Is It Time to Consider a Low-Maintenance Alternative?
If your timber deck requires more than routine maintenance, or if you’re facing significant repair costs, it’s worth considering whether a composite deck would better suit your lifestyle and budget over the long term.
Unlike timber, composite decking requires no sanding, no oiling, and no re-staining. A wash with soap and water a couple of times a year is all it takes to keep it looking great. In the Sunshine Coast’s climate, composite boards are engineered to resist UV fading, moisture, mould, and the salt air that takes such a toll on timber.
The ongoing maintenance cost of composite decking is a fraction of what timber demands, and the performance holds up significantly better in coastal conditions.
On the Sunshine Coast, the combination of summer storms, humidity, and UV means you should stay on top of these intervals, particularly the annual oiling and re-staining cycle, rather than letting it slide.
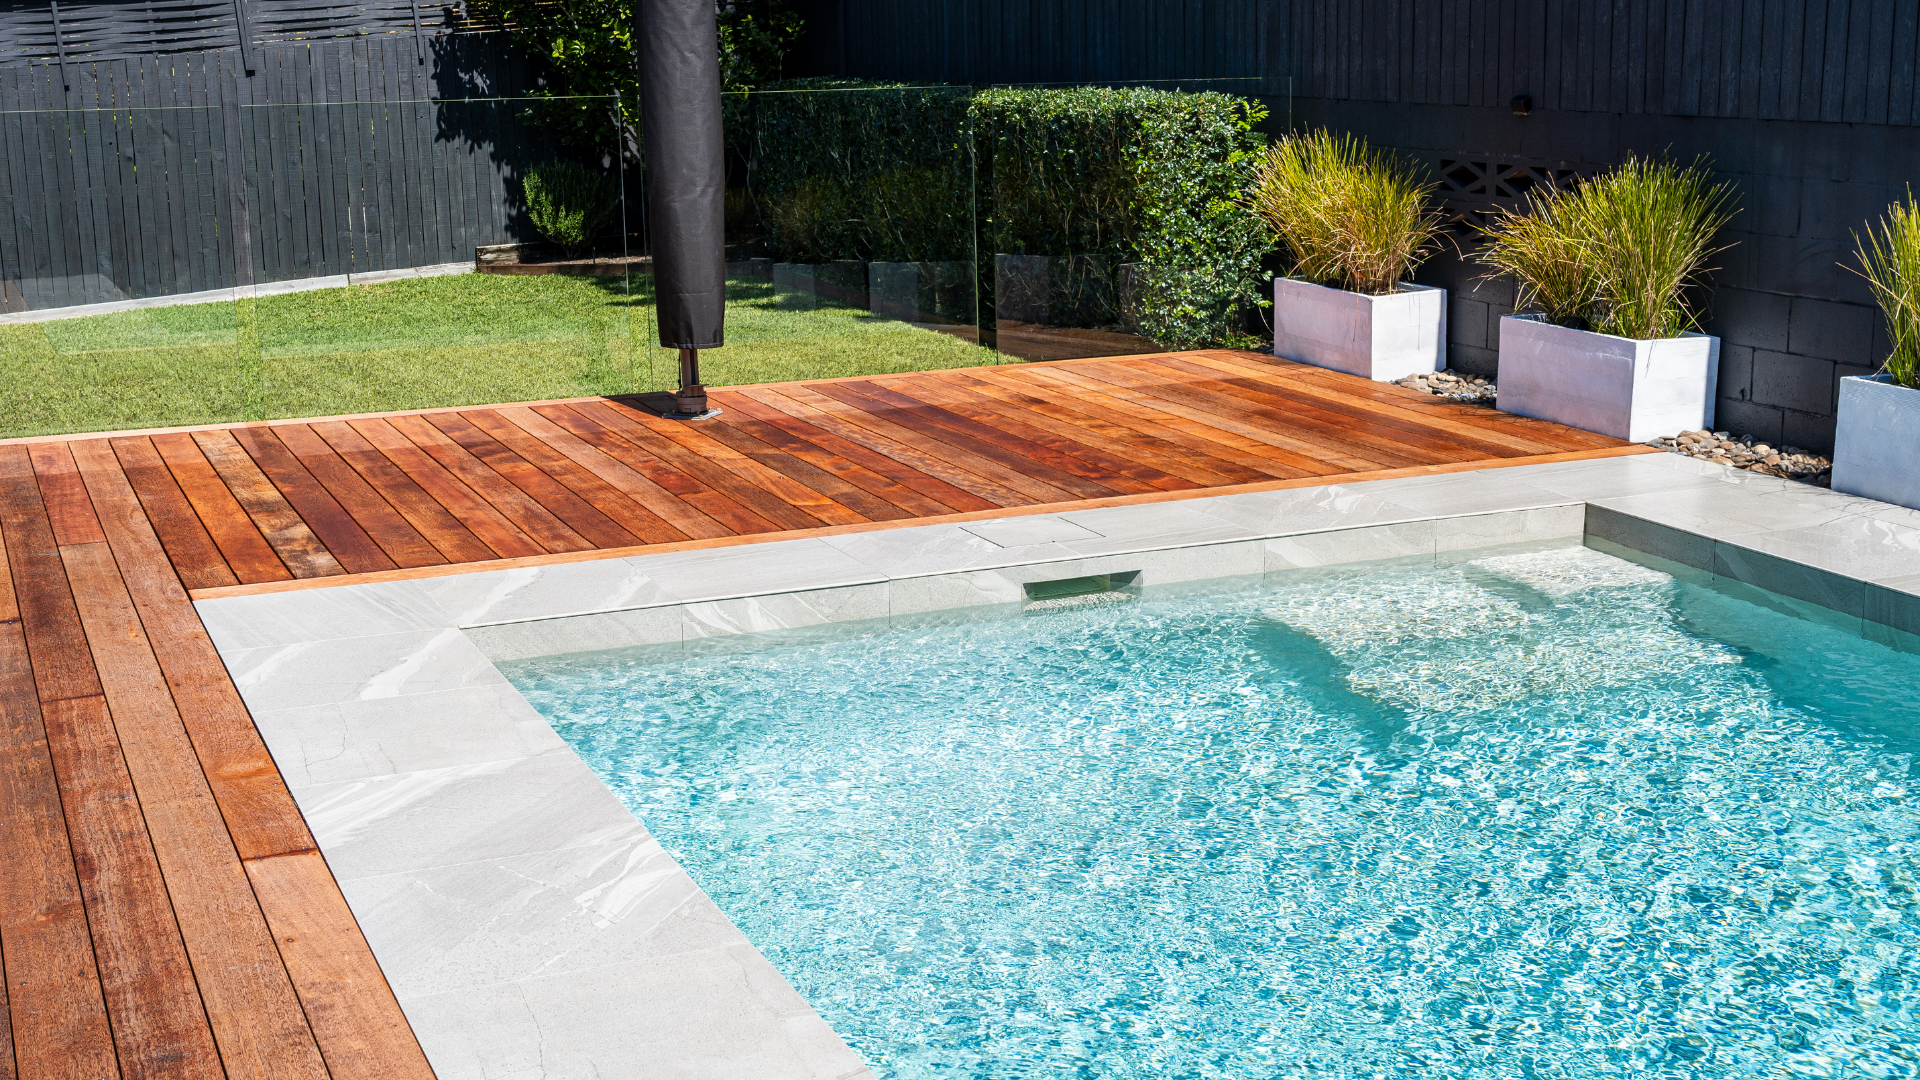
Timber Deck Maintenance Checklist
Clear debris monthly and wash down every 3–6 months
Inspect for rot, damage, and loose fixings every year
Re-oil or re-stain yearly. Only sand back if the oil/stain has been neglected and started peeling
Use 316-grade stainless steel fixings throughout
Address mould and drainage issues before they escalate
Get a structural inspection every 2–3 years
Consider composite if ongoing maintenance costs are adding up
On the Sunshine Coast, the combination of summer storms, humidity, and UV means you should stay on top of these intervals, particularly the annual oiling and re-staining cycle, rather than letting it slide.